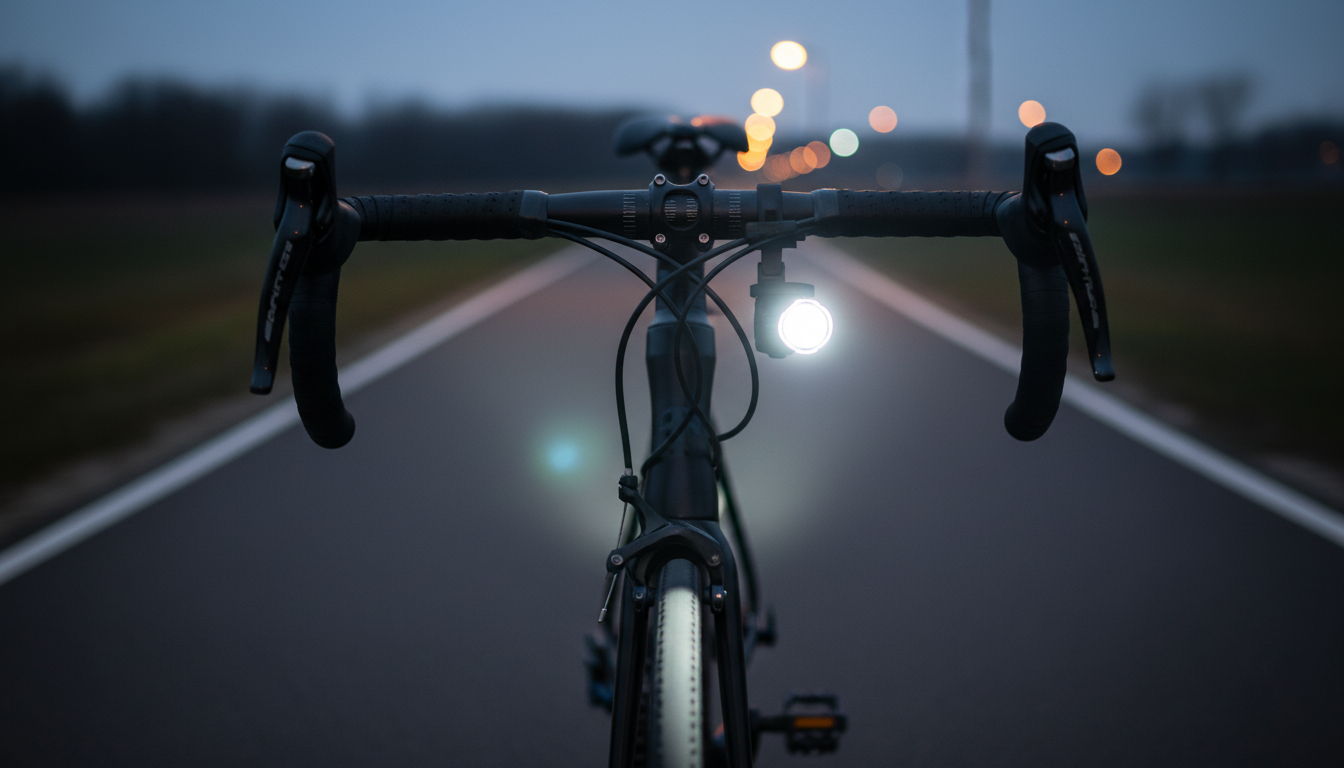
A reliable bike headlight makes night rides, early commutes, and low-visibility weather feel more controlled and predictable. This 800-lumen waterproof headlight pairs a bright beam with multiple light modes to match traffic, trails, and battery-saving needs—while staying compact enough for everyday use.
On most streets and multi-use paths, 800 lumens delivers a confident “see and be seen” level of brightness. The beam is strong enough to reveal road texture and hazards early, while still being manageable for shared environments when aimed correctly.
For a practical aiming check, roll your bike about 15–20 feet from a wall: the brightest hotspot should land below eye level and closer to the ground than you might expect. A small downward tilt often improves real-world visibility because it concentrates light where your tires will be.
Multiple modes make a headlight more adaptable than “bright or off.” The trick is choosing a setting that matches the environment—high output for truly dark stretches, and lower or attention modes when ambient lighting or traffic changes the goal.
| Ride situation | Suggested mode | Why it helps |
|---|---|---|
| Dark bike path or trail | High | Maximizes distance and reaction time |
| Well-lit city streets | Medium or Low | Reduces glare and saves battery |
| Daytime traffic | Flashing / attention mode | Improves conspicuity to drivers |
| Fog, drizzle, or dusk | Steady (Medium/High) | More consistent depth perception than rapid flash |
| Group ride | Low or Medium steady | Helps avoid blinding riders behind you when stopped |
“Waterproof” matters most where water tries to get in: seams, buttons, and charging ports. For daily commuting, water resistance is as much about long-term durability as it is about getting home comfortably in a surprise downpour.
If you want a deeper overview of how “IP ratings” relate to dust and water protection, an IEC 60529 (IP Code) overview is a helpful reference: https://en.wikipedia.org/wiki/IP_code.
Brightness is only useful if it stays pointed where you need it. A shifting headlight can turn 800 lumens into a distracting strobe as it bounces—especially on broken pavement or mixed-surface routes.
A simple habit that pays off: after the first curb cut or rough patch, glance at where the beam lands. If it crept upward, readjust before you reach busier sections of the route.
Runtime is where good lights feel “set and forget.” Predictable battery habits help prevent the classic mid-ride dimming problem and keep your beam consistent when you need it most.
For broader bicycle safety reminders and equipment tips, these references are useful: CPSC — Bicycle Safety and NHTSA — Bicycle Safety.
If you want a bright, weather-ready front light with multiple modes for commuting and weekend rides, the Waterproof High-Brightness Bike Headlight 800LM with 6 Light Modes is available now for $45.65 (in stock).
Yes—800 lumens is generally enough for city streets and many unlit paths, especially when the beam is aimed correctly. If you ride fast on rough trails, you may want extra lighting or a second light for redundancy depending on speed and terrain.
Flashing is often best for daytime conspicuity in traffic when local rules allow it. For dark paths or close-range shared use, a steady beam is usually more comfortable for others and can make depth perception feel more consistent.
Mount it securely and tilt it down so the brightest hotspot hits the road ahead rather than eye level for oncoming riders or drivers. Re-check the angle after a bumpy stretch—mounts can shift and slowly creep upward.







Leave a comment