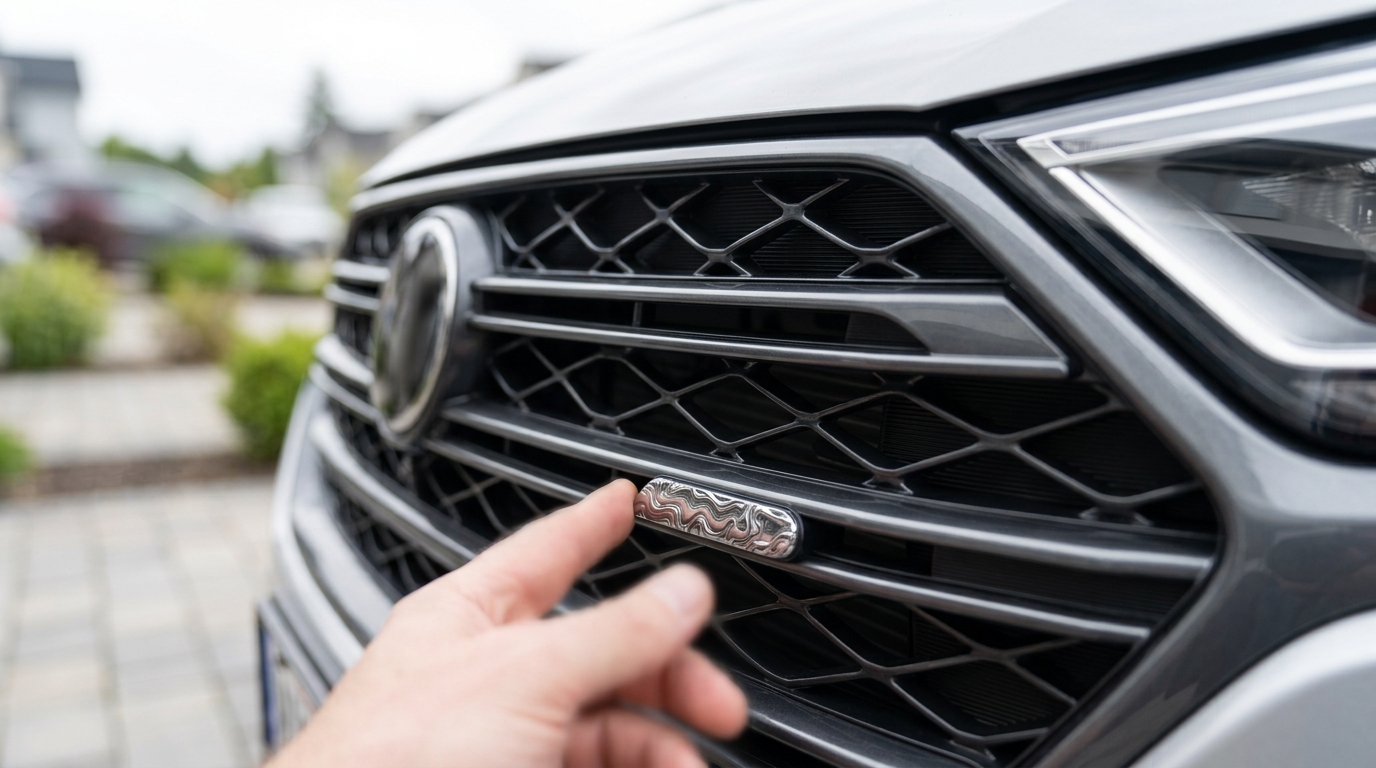
For most vehicles, the cleanest-looking placement is on the grille’s horizontal “visual centerline,” slightly off to the driver side, and aligned with an existing design feature (a grille bar, honeycomb row, or center divider). This keeps the badge readable at a distance while still looking like it belongs to the factory styling.
Start by standing 10–15 feet in front of the vehicle and identify the grille’s natural focal point—usually the midpoint between the headlights and roughly mid-height of the grille opening. From there, shift the badge a few inches toward the driver side if your grille already has a center emblem or camera/sensor area. That offset prevents the front end from looking “crowded” and avoids competing focal points.
Match the badge to the grille’s geometry. On honeycomb grilles, place it so the badge edges run parallel to the honeycomb pattern and sit on a flat, stable section. On slatted grilles, center the badge vertically on a single slat rather than straddling two, which can look uneven and may weaken adhesion. Keep it away from curved corners and deep recesses where the badge can appear tilted or partially hidden.
Avoid placing the badge where it might interfere with a front camera, adaptive cruise radar, active grille shutters, or tow hooks. Also keep it clear of spots that take the brunt of road debris (very low on the grille) to reduce chips and peeling. Before final placement, temporarily tape it in position, step back, and check symmetry from multiple angles.
For fit, installation, and care details that help the badge stay straight and secure, follow the full guide here: https://michellen.com/guide-3d-metal-awd-grille-badge-fit-install-care-guide/.
If it’s mounted on a clean, dry surface with quality automotive tape, it typically won’t damage the finish. Problems usually come from removing it aggressively or applying it over dirt, wax, or textured surfaces that prevent proper bonding.






Leave a comment